
Teacher's Class GRADER © Walkthrough
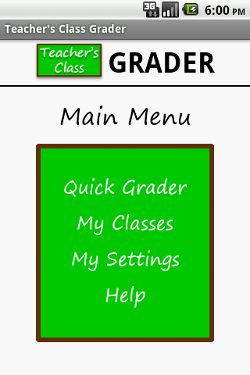
This is the Main Menu with four options. It will be the first screen you see every time
you start Teacher's Class Grader
For first time users, tap the My Settings option.
Here you will put in your name, school name, grade, and e-mail address. Don't worry, all of
these fields are completely optional, and are only used when e-mailing yourself test results.
As an added bonus, you can change your background color for the entire app on this screen.
When finished, tap the Update My Settings Button.
After inserting your settings, let's try out the quick grader. Press the Quick Grader option.
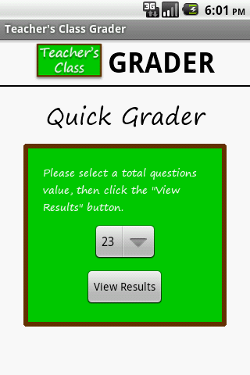
Here is your entry point for the Quick Grader, which is very similar to the typical "EZ" grader.
Tap the spinner located in the center of the screen to select the total number of questions on
the test or assignment you're grading. For those unfamiliar, to use the spinner simply wisk
your finger up and down until you see the value you want to select. Then tap the value.
Once you've selected the total number of questions, press the View Results button.
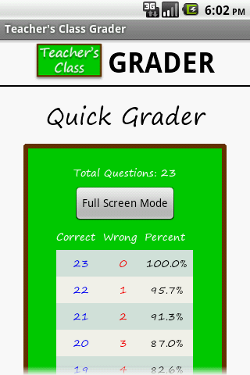
The total number of questions you selected is displayed at the top of the screen, along with a
table with three columns: # correct, # wrong, and the corresponding percentage. You can use your
finger to scroll up and down though the results.
As an added feature, you can tap the Full Screen Mode button, which will display more of the table
on the screen.
The quick grader is for simple, quick calculations, and does not save any results to your app. To
save your class student list and test results READ ON!
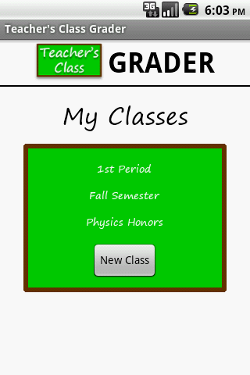
By clicking the My Classes option on the Main Menu, you will arrive to this screen, which displays
a list of all the classes you've saved to the app. You can add a new class by tapping the New
Class button, which will bring you to a screen to input the new class name and optional notes
on the class.
The naming convention for classes is up to you. If you teach multiple classes in a day or one
class all year, it is up to you how you would like to keep them organized.
The class is your basic building block. All students and test results you create will be specific
to the class you create them in.
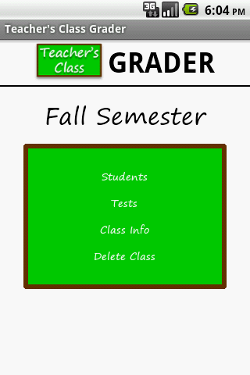
Clicking a class, in this case Fall Semester, will bring you to the menu of options for that class.
On this screen the class name will always be displayed at the top.
Starting with the easiest options first, tapping Class Info will allow you to change the name
or notes of the class, whereas tapping Delete Class will... delete the class! Be very careful,
once you delete a class, it is gone forever, including all the students and test results within it!
Tapping the Students options will bring you to the student list (see below), and tapping the Tests
option will bring you to the Tests Menu (see below). Read on brave traveler!
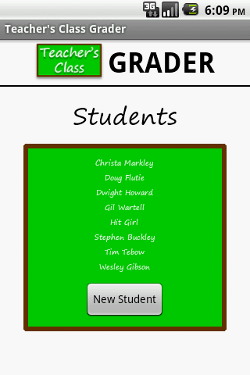
Okay, so you've clicked the Students option from the class menu and arrived here. As you see, the
current list of students is displayed, as well as the New Student button. Tapping the New Student
button will require you to enter the student's name and optional notes. Tapping an individual student
allows you to modify the student's name and notes, as well as delete the student.
IMPORTANT Make sure this list is up to date prior to creating a test (see below). When you create a
test, it will only be for the current class student list on this screen.
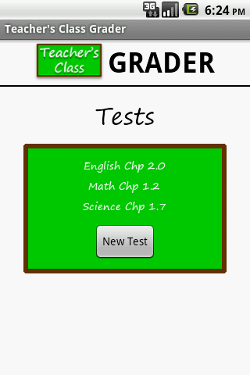
Clicking the Tests option from the class menu (see above) brings you to this screen. Displayed will
be your current tests, as well as the New Test button, which when pressed will prompt you for a test
name, date, number of questions, and optional notes (see next).
Please note that tests can consist of anything you are grading, i.e. assignments, homework, etc. Use
an organized naming convention that works best for you.
Tapping on an individual name will bring you to a test menu (see below) with options specific to
that test.
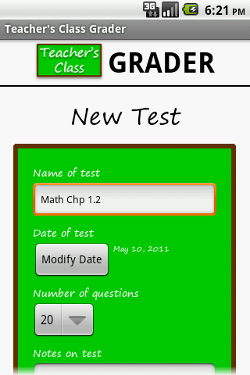
This is the new test screen. The Modify Date button provides a user-friendly widget to select the
date, and the number of questions is selected on the spinner (just like on the Quick Grader). The notes
on the bottom are optional.
IMPORTANT Once you create your test, it will be forever linked to your current class student list and
the number of questions you entered on this screen. You will however be able to modify the name, date,
and notes at any time.
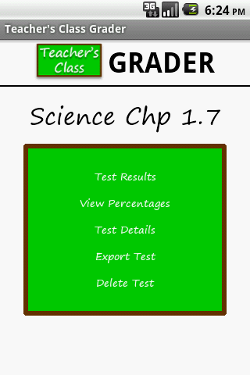
The screen you see displays all the options available to any specific test, once clicked from the test list.
Notice the test name is listed across the top of the menu.
I'll address the two most simple options first: Test Details and Delete Test. Tapping Test Details
will provide you the options of modifying the test name, date, and notes (the number of questions can
not be modified once the test is created).
Deleting a test does just that. Like all deletions in Teacher's Class Grader, it's permanent.
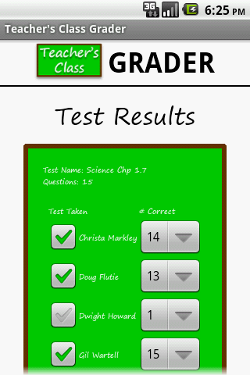
Once you create a test, the first place you should go is Test Results, selected from the test menu.
As shown, the test name and total number of questions is listed, followed by the student list at the
time the test was created.
Next to each student is a check box and a number spinner. The check box represents whether or not the
student took the test (or conducted the assignment, etc.). The number spinner represents the total
correct answers.
Once finished putting in the results for each student, press the Save Results button at the bottom
of the screen.
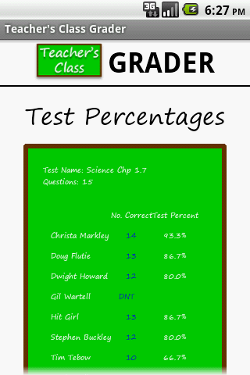
Launched from test menu (see above), the Test Percentages screen simply displays a summary of the
results you typed into the Test Results screen.
In three columns, you see the student's name, the number of correct answers, and the corresponding
percentage (out of 100%). Also note that if a student didn't take the test DNT will be shown under
the number correct column and no test percentage will be displayed.
At the bottom of the screen is the Modify Results button, which provides a shortcut to the Test
Results screen if you need to modify any of the results.
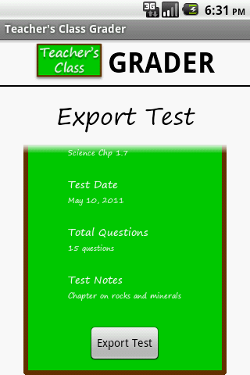
One of the best functions of Teacher's Class GRADER, the Test Export screen provides you the opportunity
to send yourself an e-mail with a summary of a test and student's results.
Displayed you'll see a brief summary of the test and an Export Test button. Pressing the Export Test
button will tell your Android device to launch an e-mail service with the test results already inserted
into the e-mail body.
Please note that if you put in your teacher information on the My Settings screen, your e-mail address
and name will be pre-inserted into the e-mail automatically.
Copyright © 2011 - Kekabe Developments -
Disclaimer
Designed and Created by Kekabe Developments
Site viewed best in Chrome and
Firefox